BLOG
How to Choose a Quality Control Camera: 7 Steps to the Right Inspection System
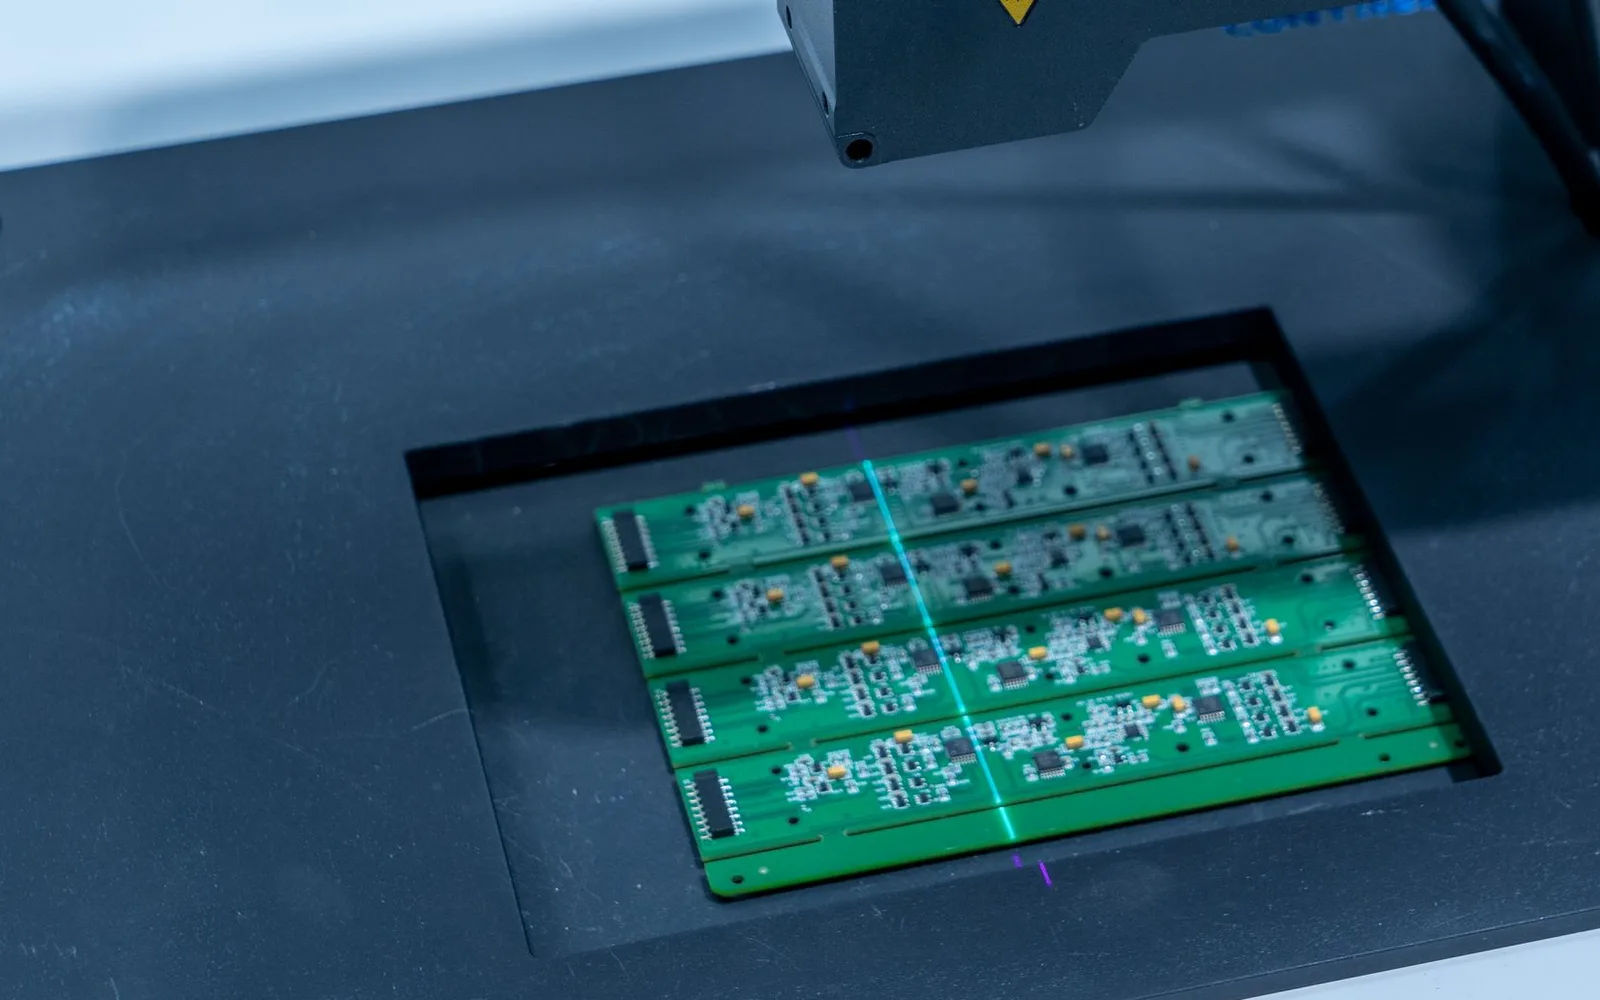
Choosing a quality control camera does not start with the camera. It starts with the part, the defect you want to catch and the speed of the line. In most failed inspection projects we see in the field the hardware is not bad; the camera is simply trying to do a job that was never defined. This article covers which questions to ask in which order, where the budget actually goes, and what to insist on before you buy.
Define the Defect First, Not the Camera
Three questions have to be answered in the first meeting: Which defect are we catching? How many millimetres is the smallest unacceptable defect? How many parts pass per minute? Without these three answers, camera selection turns into guesswork. The defect type also determines the shape of the solution.
| Defect type | Example | Right approach |
|---|---|---|
| Dimensional | Hole diameter, distance, angle | Calibrated 2D measurement or 3D scanning |
| Surface | Scratch, dent, casting void, solder defect | Angled or dark field lighting, usually deep learning |
| Presence and absence | Missing screw, reversed part, empty pocket | Simple rule based check, low resolution is enough |
| Reading | Barcode, DataMatrix, lot and date print | Reading oriented smart camera, high contrast lighting |
| Position | Where the robot should pick the part | 3D camera for pose detection |
Several of these types can appear on the same line. In that case splitting the station costs less than expecting one camera to do everything. We detailed application examples in our articles on visual quality control in automotive and PCB inspection in electronics manufacturing.
Resolution Is Calculated, Not Guessed
Resolution selection rests on a simple ratio. Divide the camera’s pixel count across the width by the width of the field of view and you get pixels per millimetre. For a defect to be caught reliably it usually has to cover at least 3 pixels; in critical applications that number rises to 5.
An example: if you image a 200 mm wide area with a 5 megapixel camera (about 2450 pixels across), you get roughly 12 pixels per millimetre. That means a 0.25 mm defect covers about 3 pixels. To catch something smaller you either increase resolution or reduce the field of view, which means scanning the part in several frames. A camera bought without this calculation is the most common reason behind the complaint that the system “sometimes sees it and sometimes does not”.
Half the Job Is Lighting
The success of an inspection project is largely decided by lighting. The right lighting separates the defect from the background and makes the software’s job easy. The wrong lighting makes even the most expensive camera useless.
- Ring light: general purpose, works well on flat surfaces.
- Angled and dark field light: reveals scratches and dents through shadow.
- Backlight: the most stable method for measurement and presence checks on a silhouette.
- Dome light: diffuses reflection on shiny and curved surfaces.
- Infrared and special wavelengths: make material differences visible that the eye cannot separate.
Another rule: ambient light must be under control. If daylight through a window produces different results in the morning and in the afternoon, the system will be unstable. We covered why camera, lens and lighting have to be selected together in our article on industrial cameras and lighting.
Speed and Motion: Will the Part Stop or Keep Moving?
If the image is captured while the part moves on a conveyor, the exposure time has to be short enough to avoid motion blur. A short exposure needs more light, which brings up lighting power and usually flash triggering. Applications where the part can be stopped are both cheaper and more stable, so prefer that in line design when possible.
Speed also determines the processing capacity you need. The software architecture at 60 parts per minute and at 600 parts per minute is not the same.
2D or 3D?
For colour, print, surface and presence checks a 2D camera is enough and costs less. Height, flatness, volume, curvature and the question of where a robot should grip the part require 3D. Choosing wrong is expensive in both directions: unnecessary 3D inflates the budget, while insufficient 2D blocks the project from the start. We explained the differences in our 3D camera technology comparison.
Rule Based Software or Deep Learning?
For measurement, position and reading tasks, classic rule based machine vision is both faster and more predictable. For surface defects with high natural variation, rules become hard to write and deep learning based classification takes over. The price of deep learning is data: no model without collected and labelled defective samples. We discussed this distinction in AI powered quality control and machine vision 2026.
Smart Camera or PC Based System?
A smart camera is a compact solution with the processor and software inside. For single station, single task, medium speed applications it is fast to install and cheaper. Applications with many cameras, high resolution or a deep learning load need an industrial PC based architecture. The deciding criterion is not the brand but the processing load and the likelihood of growth.
Where Does the Budget Actually Go?
When people ask for the price of a quality control camera, they usually think of the camera itself. In the total cost of an inspection station the camera is a small item. A typical quotation contains:
- Camera, lens and lighting
- Mechanical mounting, enclosure and ambient light shielding
- Trigger sensor, PLC integration and the reject mechanism
- Software licence and application engineering
- Sample testing or a PoC
- Commissioning, operator training, documentation
- Warranty and annual maintenance
We broke down how the real cost of an investment forms beyond the hardware price in our article on integration cost in robotic automation. The lowest quotation is usually the one with the narrowest scope.
Always Ask for a Sample Test Before You Buy
The only reliable way to know whether an inspection system will work in your plant is a test with your own parts. Ask for two things in writing:
- Real samples: both good and defective parts, including borderline cases if possible.
- A written acceptance criterion: numbers for missed defect rate and false alarm rate. “It works very well” is not a criterion.
The false alarm rate matters as much as missed defects: a system that keeps calling good parts bad gets switched off by operators within weeks. In sectors like food and pharmaceuticals, where traceability is required, recording and reporting expectations must be discussed up front; we covered that in machine vision in food and pharma.
Five Common Mistakes
- Leaving lighting to the end and keeping it out of the budget
- Saying “let us take high megapixels” without a resolution calculation
- Promising deep learning before collecting defective samples
- Not putting the acceptance criterion in the contract
- Ignoring the operator interface, so the result cannot be read on the floor
How MIS Otomasyon Works
We start inspection projects with a test on your own parts and a written success criterion. We select camera, lens and lighting according to the application rather than being tied to a single brand. Explore our MIS-INSPECT inspection family, read what to look for when evaluating an integrator in how to choose an automation company, or request a demo for a feasibility check on your own part.